
How to Use an eSIM: A Beginner's Step-by-Step Guide (2026)
An eSIM is a digital SIM you install from an app, so you land abroad with data already working and no plastic card to swap. If your phone is from the last few years it almost certainly supports one. You buy a plan, scan a QR code, switch the eSIM on for data, and keep your normal SIM for calls on your usual number. Airalo is the easiest place to start. Here is the whole thing, step by step.
The first time someone told me to "just get an eSIM," I nodded along and had no idea what they meant. It sounded technical. It is not. An eSIM is the single best travel upgrade I have made, and once you have done it once you will never queue at an airport SIM kiosk again.
This is the guide I wish I had the first time. No jargon, just what it is and exactly how to set one up.
What an eSIM actually is
A normal SIM is the little plastic card you push into your phone. An eSIM does the same job, but it is built into your phone already and you load the data plan onto it digitally, from an app or a QR code. Nothing to post, nothing to pop out, nothing to lose down the back of a hostel bunk.
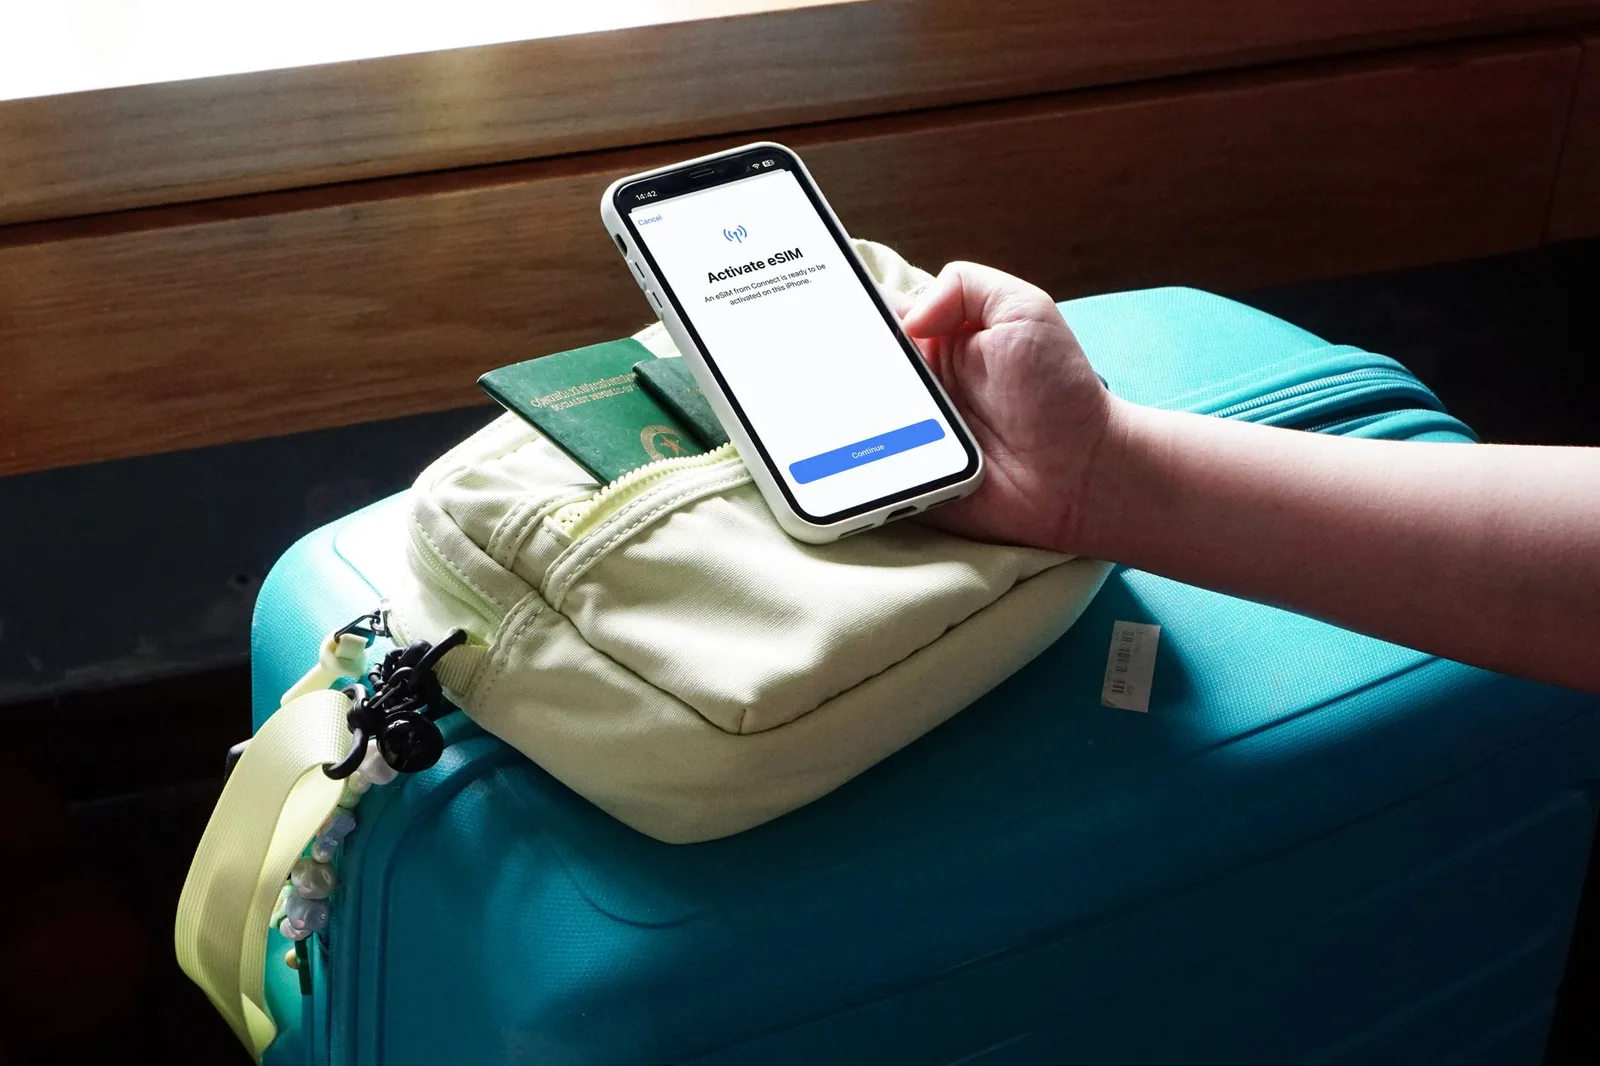
The practical upshot for travel: you buy a data plan for the country you are going to before you leave home, install it in two minutes, and it switches on the moment you land. You walk off the plane with Google Maps and your messages already working. ::img[traveller-phone]## Will my phone work with one
Almost certainly, if it is from the last few years. Every iPhone from the XS and XR onwards, Google Pixel 3 and newer, and most recent Samsung Galaxy models support eSIM. Your phone also needs to be unlocked, meaning not tied to a single home network. Most are these days, but if you bought it cheap on a contract it is worth checking.
The thirty-second test: on an iPhone go to Settings, Mobile Data, and look for "Add eSIM" or "Add Data Plan." On Android, search the settings for "SIM" and look for the option to add one. If it is there, you are good to go.
Setting one up, step by step
Here is the whole process. It takes about five minutes the first time and two minutes after that.
- Download the app. Airalo is where I send everyone starting out. It covers virtually every country, the plans are cheap, and the app does the fiddly bits for you.
- Choose your country and plan. Pick where you are going and how much data you need. For a week of maps, messaging and the odd bit of browsing, 1GB to 3GB is plenty. Heavy on video or hotspotting? Size up.
- Pay and install. Buy the plan in the app, then tap install. The app sets the eSIM up for you, or gives you a QR code to scan. Do this on wifi at home before you fly.
- Switch it on when you arrive. When you land, go into your settings, turn the eSIM line on for data, and make sure data roaming is enabled for that line. This is the step people forget, and it is the difference between working data and a blank map.
- Keep your normal SIM for calls. Leave your usual SIM active for calls and texts on your own number, and set the eSIM as your data line. Best of both: your number still works, your data is cheap and local.

Which plan to buy, with Turkey as the example
The plans come in three rough shapes, and Turkey is a good one to walk through because so many people pass through Istanbul.
The local plan. Data on a Turkish network only. Cheapest per gigabyte and the right choice if you are only visiting one country. An Airalo Turkey plan gives you a set amount of data over 7, 15 or 30 days, which suits most trips.
The regional plan. Covers a whole region, say Europe or the Middle East, on one eSIM. Worth it if Turkey is one stop on a bigger trip and you do not want to buy a new plan at every border.
The global plan. Works almost everywhere. More expensive per gigabyte, but one plan for a long multi-country trip is hard to argue with.
For a one-week stop in Istanbul, a local 3GB plan is the sweet spot. For a month bouncing around the region, go regional. Start small. You can always top up in the app in seconds if you run low, and there is no point paying for data you will not use.

The gotchas worth knowing
Install before you fly, not after. You need wifi to set the eSIM up, and that is easiest at home. The data itself does not start ticking until you use it abroad, so there is no rush to land before activating.
Your data plan does not include a phone number. It is data only. Calls and texts still go through your normal SIM, which is exactly what you want, so do not panic when there is no number attached.
Topping up is instant. Run low and you reload in the app without touching the settings again. No kiosk, no new QR code.
Turn off data on your home SIM. With both lines active, make sure your expensive home SIM is not quietly using data in the background. Set the eSIM as your data line and leave the home one for calls only.
One more bit of travel admin
While you are sorting the boring-but-essential jobs before a trip, get your money sorted the same way. A fee-free travel card spends in local currency at the real exchange rate, which saves you the same kind of quiet fees that roaming used to. Data and money, both handled before you fly.

That is genuinely it
People build eSIMs up into something complicated and they are not. Buy the plan, scan the code, switch it on when you land. Do it once and it becomes the first thing you sort for every trip, right after booking the flights. You will wonder why you ever bought a physical SIM at the airport.